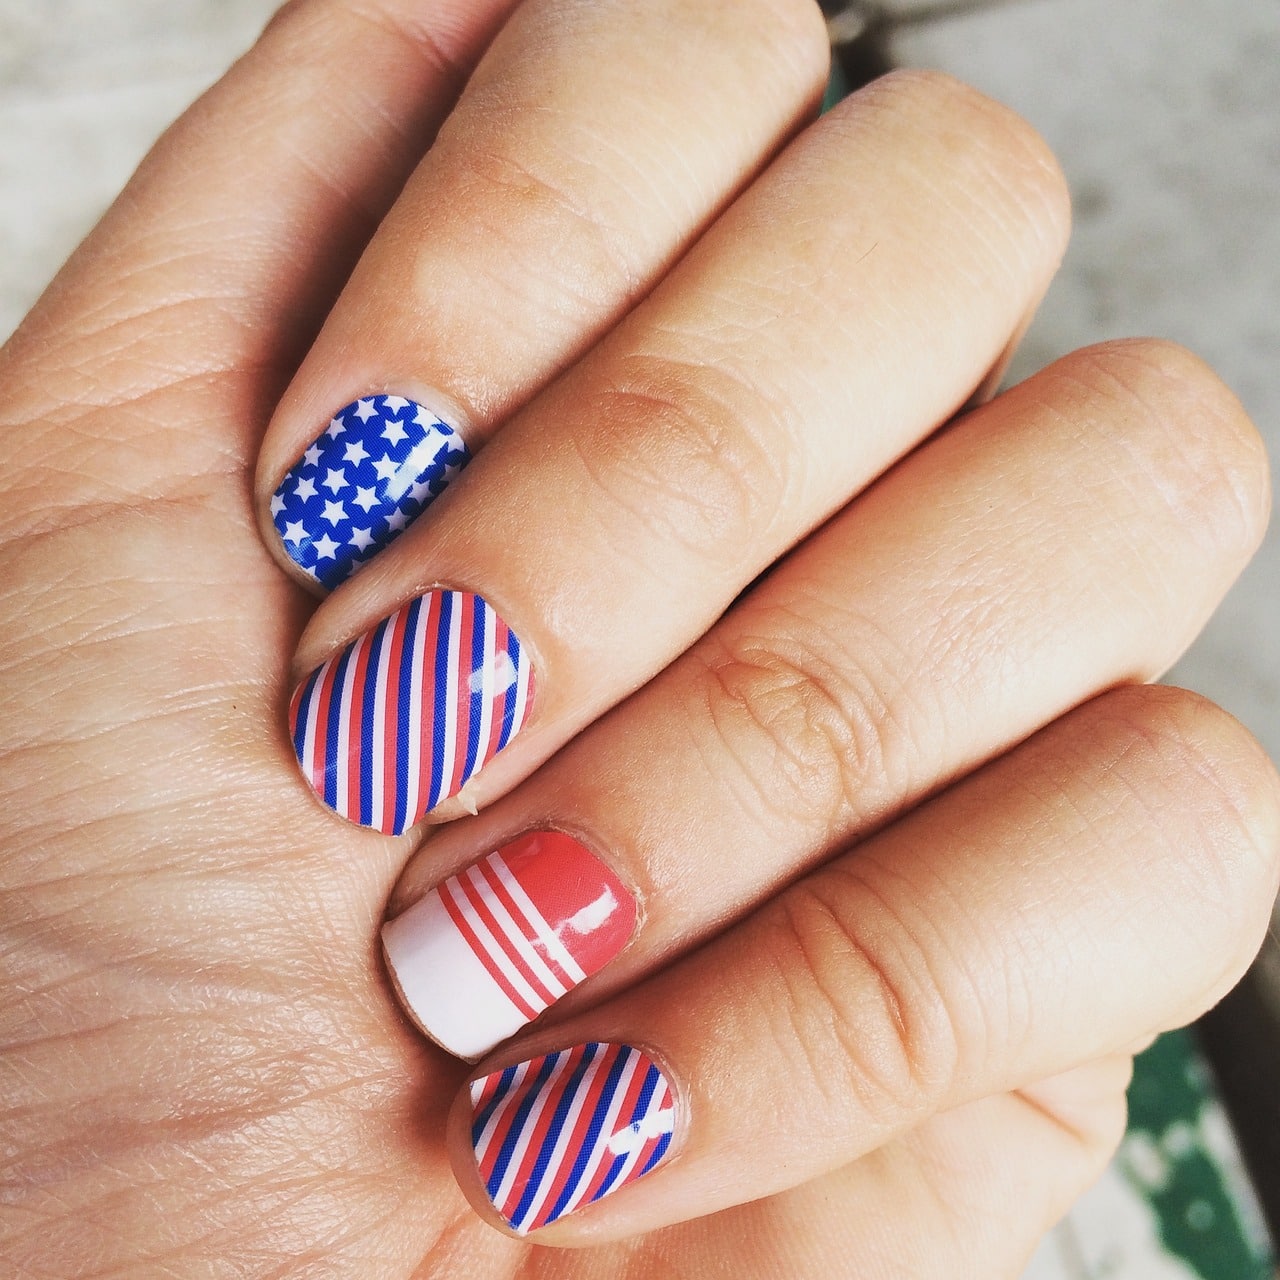
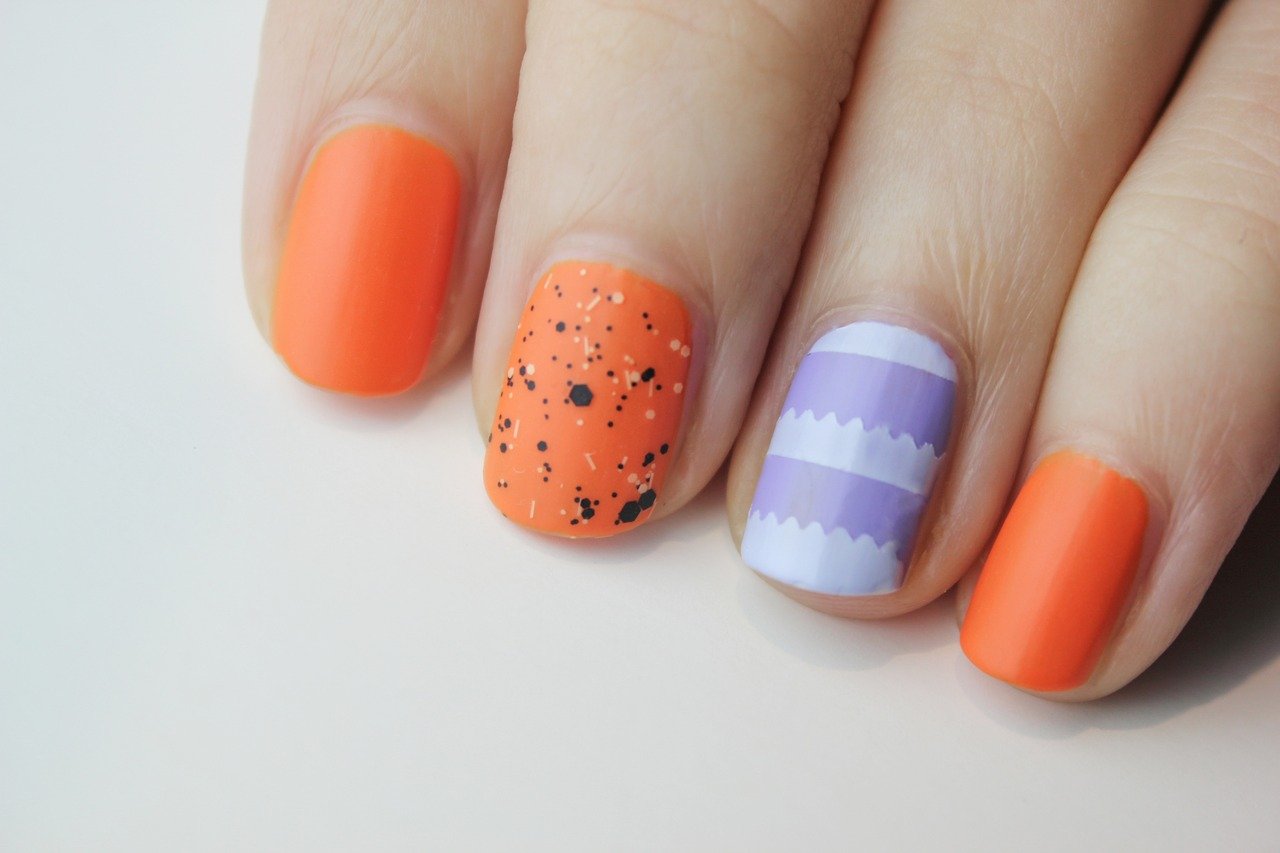
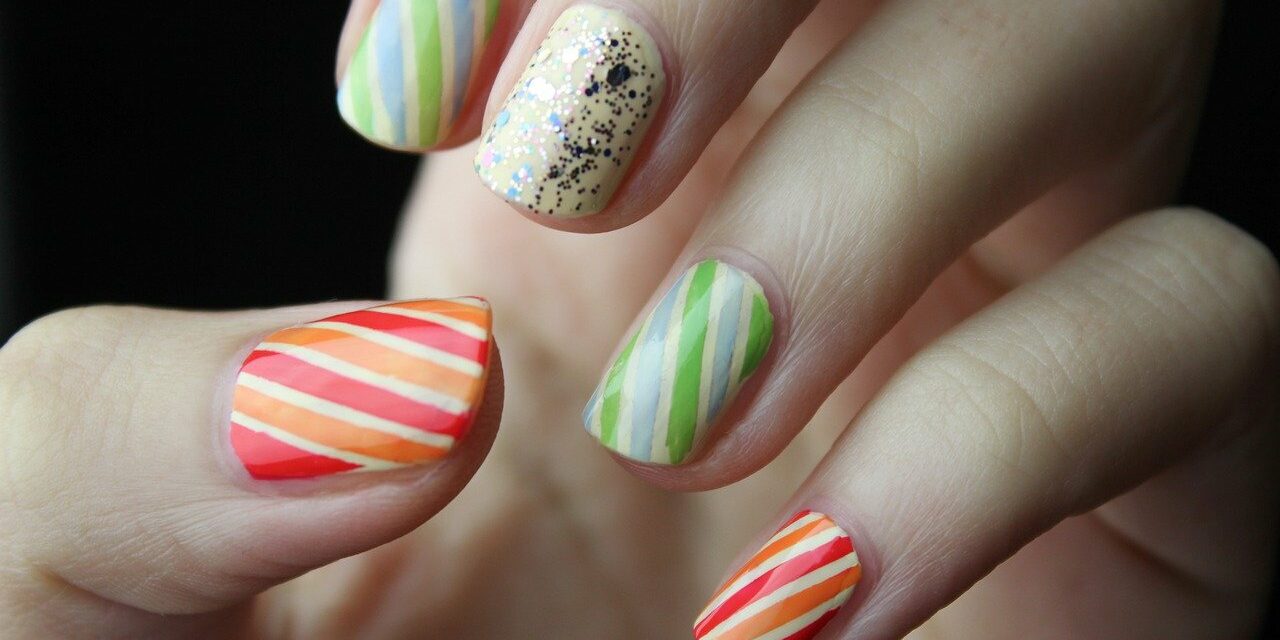
Nail art can make your personality more powerful and impressive. You can use nail art to make a personal statement. Nowadays intricate nail designs are in demand and Nail wraps are a creative and hassle-free alternative to traditional nail polish. Nail wraps are indeed an ingenious solution for you to get stunning nail art without the complexities of painting or the need for artistic prowess. Today, our article is all about nail wrap and how to apply nail wrap.
Essential Supplies for Nail Wrap Application
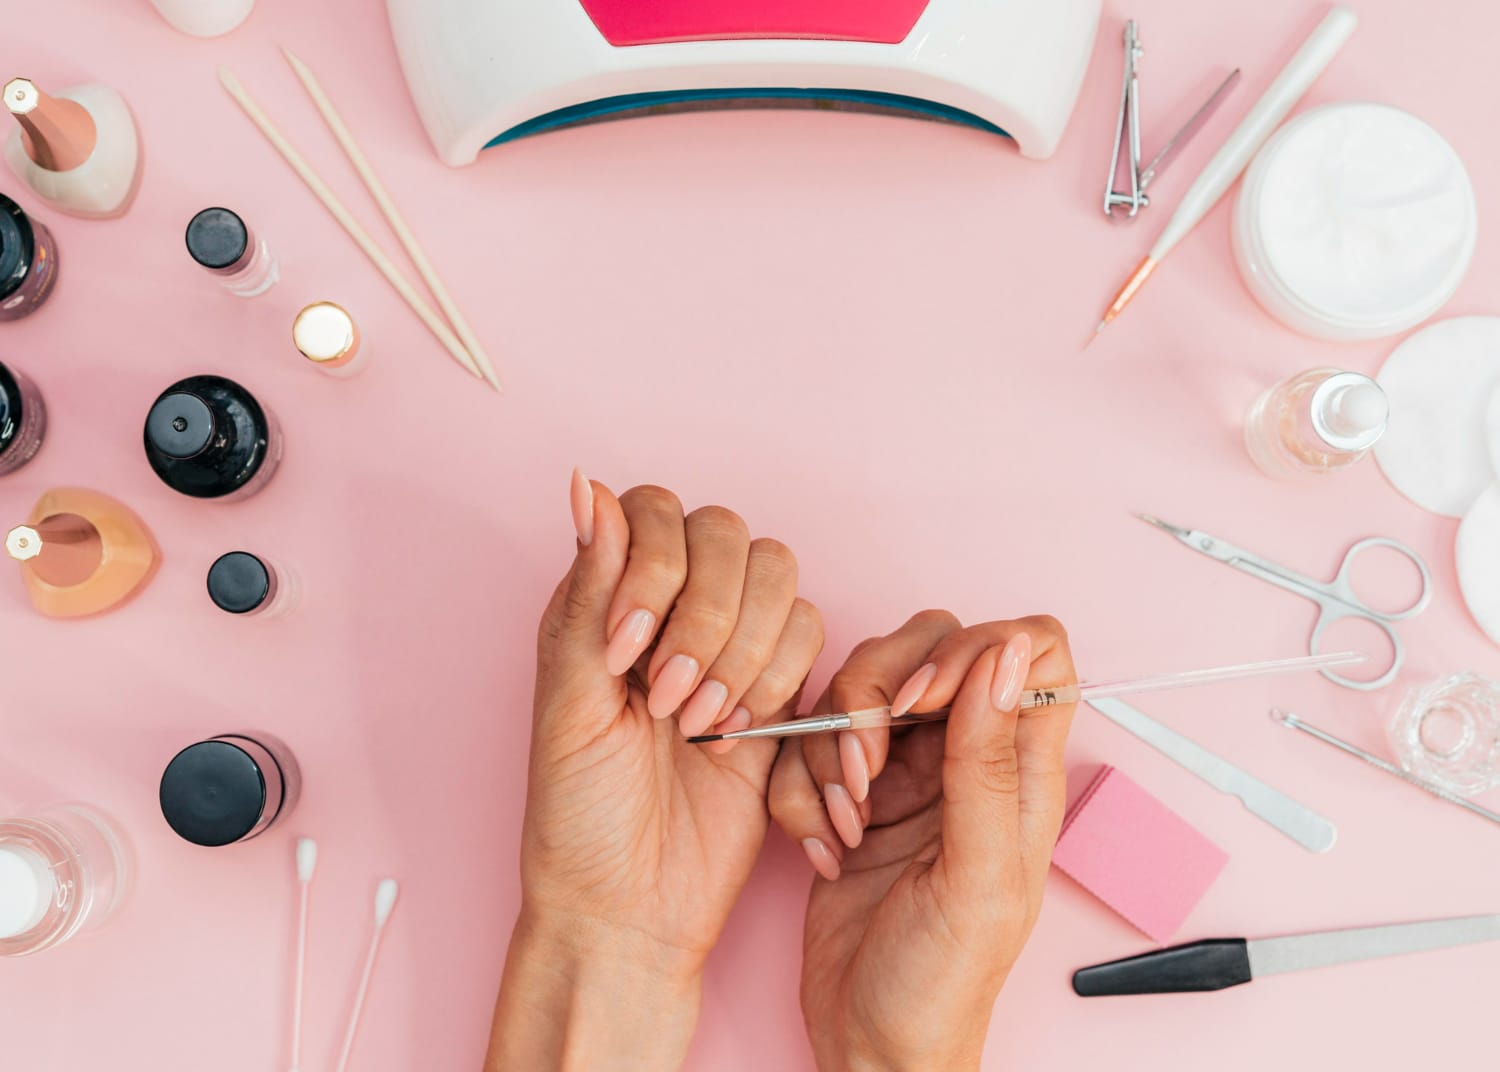
To get started with applying nail wraps, you’ll need to gather the following materials:
- Nail Wraps: Choose nail wraps in your preferred design and size.
- Nail File: Have a nail file on hand to shape and smooth your nails.
- Cuticle Pusher or Orange Stick: Use this tool to push back your cuticles for a clean application surface.
- Tweezers: While not essential, tweezers can help precisely place the nail wraps.
- Nail Polish Remover: Ensure your nails are clean and free from any existing polish or oils.
- Lint-Free Wipes or Cotton Pads: Use these to wipe your nails and remove any residue before applying the wraps.
- Optional Top Coat: Use a clear nail polish top coat for added protection and shine if desired.
- UV Lamp: Some nail wraps need UV curing for better adhesion. Check the instructions on your chosen wraps.
- Scissors: Keep scissors handy to trim excess wrap material if needed.
- Well-Lit Workspace: Ensure you have proper lighting to see the application process.
With all these supplies, you are ready to make the nail wrap process easy peasy and enjoyable.
Nail Preparation Before Applying Nail Wrap
 Before applying nail wraps, it’s crucial to prepare your nails properly. Follow these steps to ensure a clean and polished canvas:
Clean Your Nails
First, remove your previous nail polish; you can use nail polish remover. Then clean your nails thoroughly to eliminate oils, residue, and debris.
Shape Nails
Use a nail file to shape your nails according to your desired length and style.
Gently Push Back Cuticles
- Utilize a cuticle pusher or an orange stick to push back your cuticles carefully.
- This step creates a smooth and neat base for the nail wraps.
These steps will set the stage for a flawless nail wrap application that adheres well and looks stunning.
How To Select The Perfect Nail Wraps?
When it comes to selecting the perfect nail wraps, precision and design alignment are essential. Here’s how to ensure you choose wraps that complement your nails and style:
Sizing Matters
- opt for nail wraps that closely match the width of your nails.
- Avoid wraps that are too large or too small to achieve a polished look.
Design Harmony
- Select nail wrap designs that resonate with your style and preferences.
- Consider aligning the design with the natural shape of your nails for a cohesive appearance.
By carefully choosing the suitable nail wraps, you’ll be well on your way to creating a stunning and harmonious nail art design.
How To Apply Nail Wrap?
 Once you have chosen nail wraps and prepared nails, it’s time to bring your design to life.
Peeling and Placement Of Nail Wrap
- Carefully peel a nail wrap from its backing, being cautious not to touch the adhesive side with your fingers.
- Align the nail wrap with the base of your nail, leaving a small gap in the cuticle area.
- Start by pressing down the center of the nail wrap onto your nail bed.
- Gently smooth the wrap towards the sides, avoiding any bubbles or wrinkles.
- Use a cuticle pusher or your fingertip to help press the wrap evenly onto the nail surface.
Trim and Finalize
After applying the nail wraps, the following steps involve refining the look and ensuring a professional finish. Here’s what to do:
- Use a nail file to gently remove any excess wrap material extending beyond your nail’s tip.
- File in a downward motion to prevent lifting or peeling of the wrap.
- Apply a clear nail polish top coat over the nail wraps if desired.
- It adds an extra layer of protection, enhances the design’s longevity, and provides a glossy finish.
Tips To Apply Stunning Nail Wrap
 Perfecting your nail wrap application technique takes practice and a few handy tips. Here’s how to enhance your skills and achieve the best results:
- Practice makes a man perfect. Keep going even the first attempt could be better. Like any skill, it needs practice to improve agility.
- Avoid rushing. Take your time during each step of the application process to ensure accurate alignment and bubble-free results.
- Smooth out wrinkles. If you encounter any wrinkles or bubbles, gently lift the wrap and reapply while smoothing the imperfections.
- Finishing touches. Use a cuticle oil or moisturizer around your nails after application for a polished look.
Tips for a Long-Lasting Nail Wrap Experience
To extend the life of your nail wraps, avoid excessive exposure to water, harsh chemicals, or activities that may cause excessive wear. Ensuring the longevity of your nail wraps requires a few extra steps and care. Here are some valuable tips to make your nail wrap art last as long as possible:
- Prepare well before applying nail wrap.
- Do proper application
- Seal with a top coat
- Avoid harsh activities.
- Follow gentle cuticle care routine
- Use gloves to protect the nails.
- Regular moisturizing keeps your hands and nails shiny and healthy looking.
By following these tips, you’ll ensure that your nail wraps remain vibrant and eye-catching, allowing you to enjoy your stunning nail art for an extended period.
In conclusion, as a creative outlet for unique nail art designs, nail wraps offer a convenient and visually captivating way to express yourself. Following the steps outlined in this guide, you can confidently and skillfully apply nail wraps that rival the intricacies of professional nail art. Whether you’re a beginner or a seasoned enthusiast, the versatility of nail wraps ensures that everyone can achieve stunning results without the need for advanced painting skills.
So read our article on how to apply nail wrap, gather your supplies, prepare your nails, choose your designs, and apply with finesse. Last but not the least, don’t forget to add your personal touch. Nail wraps embellish your fingertips and empower you to showcase your individuality with every stroke. Enjoy the journey of mastering this art form and watch as your nails transform into miniature canvases of self-expression and beauty.


