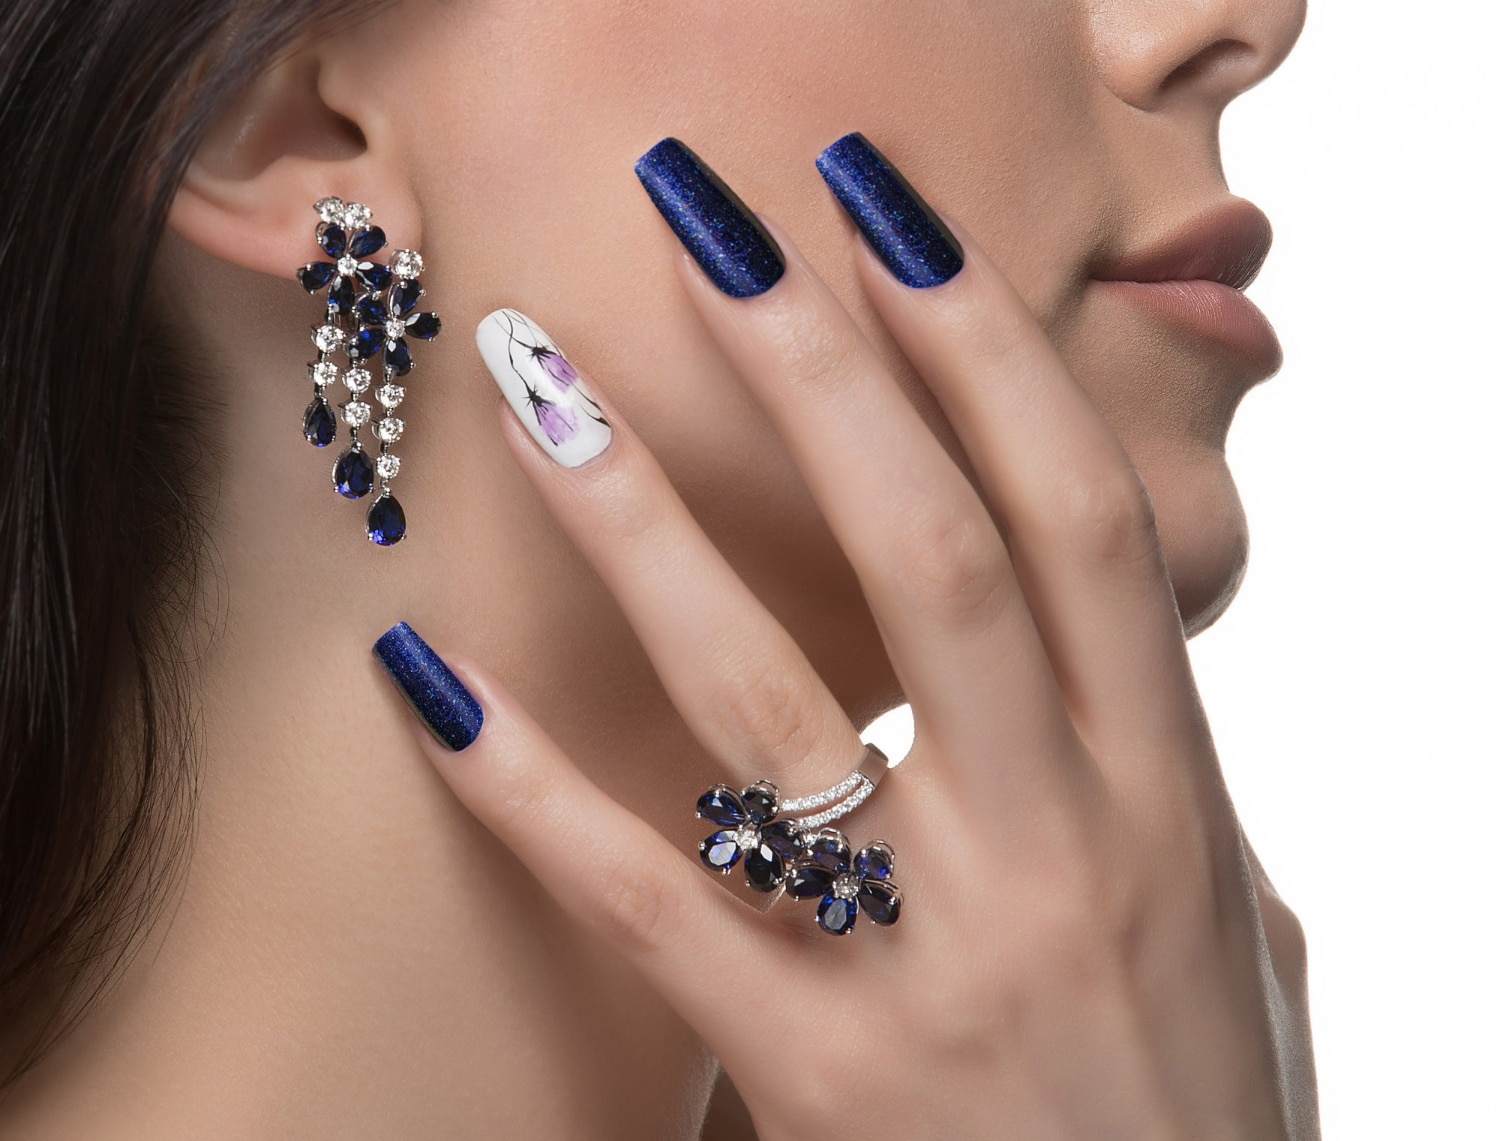
Ballerina nails are also known as coffin nails. The allure of the ballerina’s nails lies in their graceful and tapered square tips which resembles ballerina shoes. Whether you are a dance enthusiast or simply seeking a chic and sophisticated nail shape, mastering the art of ballerina’s nails can elevate your overall look and style. But how to shape ballerina nails? From the initial preparation to the final touches, we will walk you through each step, offering valuable tips and insights.
In this guide, we will explore the distinctive characteristics of ballerina nails, and why they have captured the hearts of nail enthusiasts worldwide. Beyond their aesthetic appeal, we will also uncover the practicality of this nail shape, making it not only a fashion statement but also a functional choice for everyday activities.
How To Shape Ballerina Nails?
Preparing the Nails
Before you begin to shape your nails into ballerina nails, it’s essential to prepare the nails properly. It will ensure a clean canvas for achieving the desired nail shape.
Clean With Nail Polish Remover
- Use a cotton pad or nail polish remover wipes to remove any existing nail polish from your nails gently.
- After removing the nail polish, apply a small amount of nail polish remover on a cotton pad or nail polish remover wipes.
- Gently clean the surface of your nails to eliminate any oils, dirt, or debris, ensuring better adhesion for the new nail shape.
The Trimming Process

- Use nail clippers or scissors to trim your nails to the length you desire for your ballerina’s nails.
- Consider the shape and size of your fingers when choosing the appropriate length. Properly preparing your nails before shaping them creates a solid foundation for achieving stunning ballerina nails.
- This preparation ensures that your nails are clean, trimmed, and ready to be shaped into elegant, tapered square tips that characterize the ballerina nail style. Now you can move on to the next step – filing the nails to create a beautiful ballerina shape.
Tapering the Sides Achieving the Elegant Ballerina Nail Shape
Tapering the sides is crucial in shaping ballerina nails, giving them their signature elegant and tapered appearance. Follow these steps to achieve the perfect taper on each side of your nails:
Start from the Corners of the Square Tip
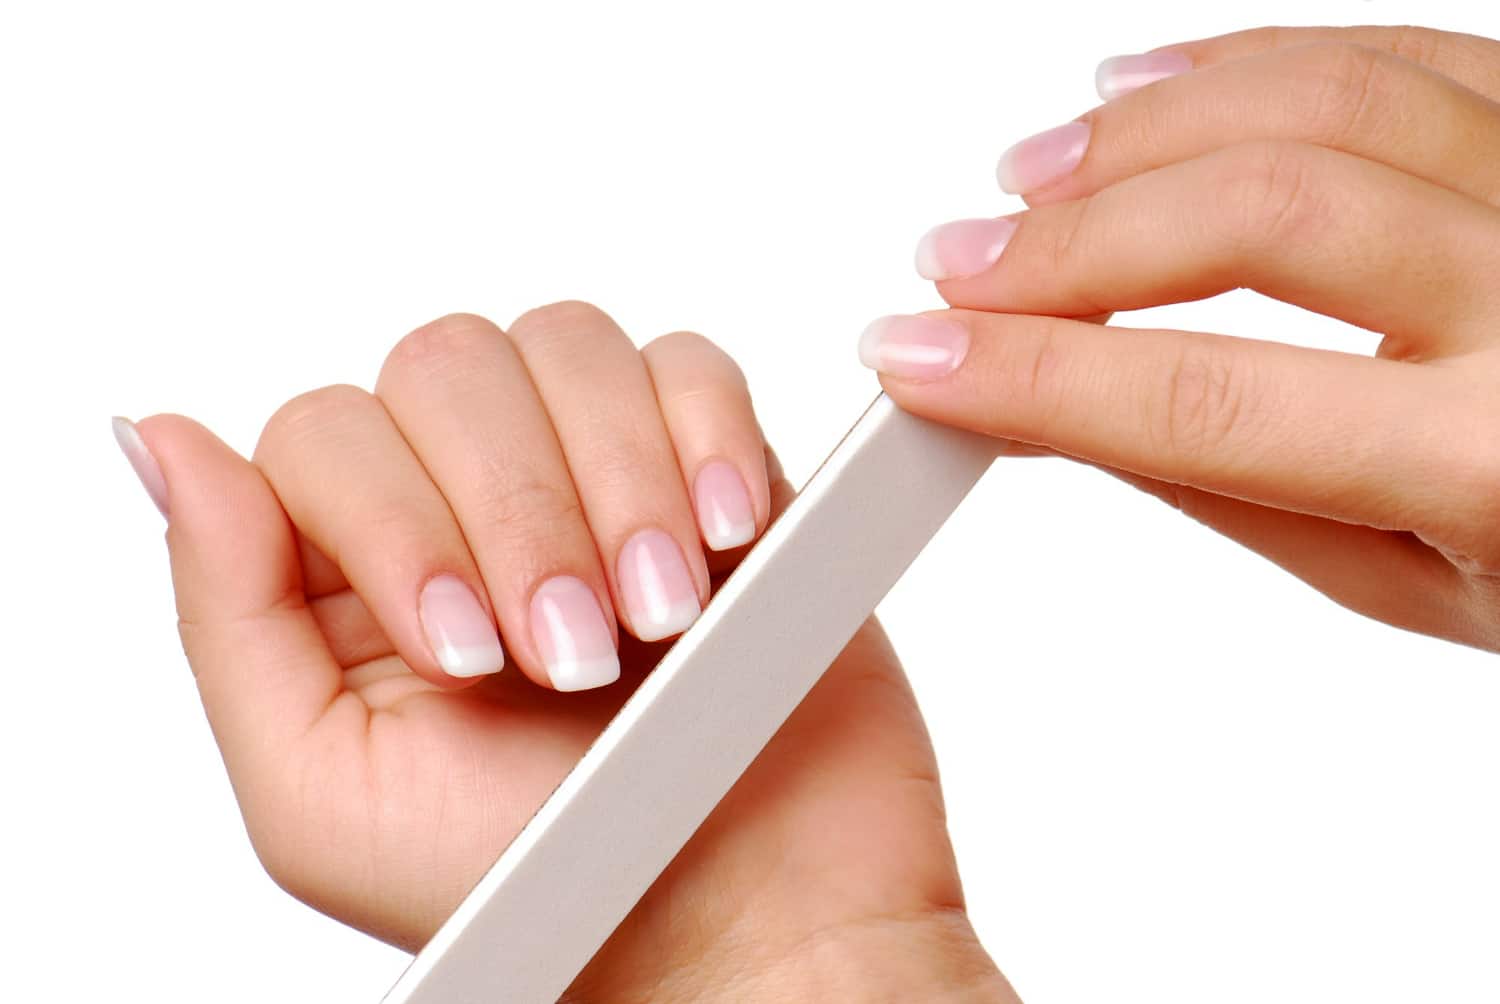
- Hold the nail file at a slight angle, about 45 degrees, to the corners of the squared-off tip.
- Begin filing from the outer corners of the nail, moving towards the center in smooth, diagonal strokes.
File Diagonally Towards the Center of the Nail
- As you file, gently shape the sides of the nails into a tapered form, following the natural curve of your fingertip.
- Aim to create a soft curve that slants inward, gradually narrowing the nail’s width towards the center.
Create a Smooth and Gradual Taper on Each Side
- Ensure that both sides of the nail are filed symmetrically and tapered at an even angle.
- Take your time to achieve a balanced and graceful taper that complements the length and shape of the nails.
Smoothing the Edges To Create Ballerina Shape
Smoothing the edges is the next essential step in shaping a ballerina nails. This process ensures that the edges of your nails are refined and polished, creating a neat appearance.
Follow these steps to achieve a smooth finish:
- Take a fine-grit nail buffer and gently run it along the edges of your nails.
- Buff in one direction to smooth out rough or uneven areas, ensuring a uniform edge on all nails.
- Be gentle and avoid over-buffing to prevent nail damage
- Exercise caution while using the nail buffer, as excessive buffing can weaken the nails.
- Buff only as needed to achieve a smooth surface without removing too much of the nail’s natural structure.
By smoothing the edges of your ballerina nails, you’ll enhance the overall appearance and ensure a comfortable experience during everyday activities. A polished finish contributes to the elegance of the ballerina nails, making them perfect for those seeking a sophisticated and graceful nail look.
Moisturizing the Hands For Nourished And Healthier Nails
 Moisturizing your hands and nails is essential in maintaining healthy and beautiful ballerina nails. Here’s how to keep your hands and nails hydrated:
Apply Hand Cream or Cuticle Oil
- Choose a high-quality hand cream or cuticle oil to nourish your skin and nails.
- Apply a generous amount of moisturizer to your hands, focusing on the cuticles and the skin around the nails.
- Gently massage the cream or oil into your cuticles, promoting healthy nail growth and preventing dryness.
- The massage also improves blood circulation, benefiting the overall health of your nails.
Optional: Applying Nail Polish
- Choose a Nail Polish Color or Design
- Apply a Base Coat for Protection
- Add a Top Coat to Seal and Prolong the Polish’s Life
- You can also make different nail art designs at home without using specific tools.
While shaping your nails, remember these key points
Practice and Patience: Achieving the perfect ballerina nail shape may take time and practice. Be patient with yourself as you hone your skills and master the technique.
Professional Assistance: If you need clarification on shaping a ballerina’s nails, consider seeking professional help from a skilled nail technician. They can provide expert guidance and ensure an impeccable manicure.
In conclusion, shaping ballerina nails requires dedication and attention to detail, but the results are worth it. The elegance and sophistication of this nail shape make it a popular choice for those seeking a refined and polished look.


2 Comments