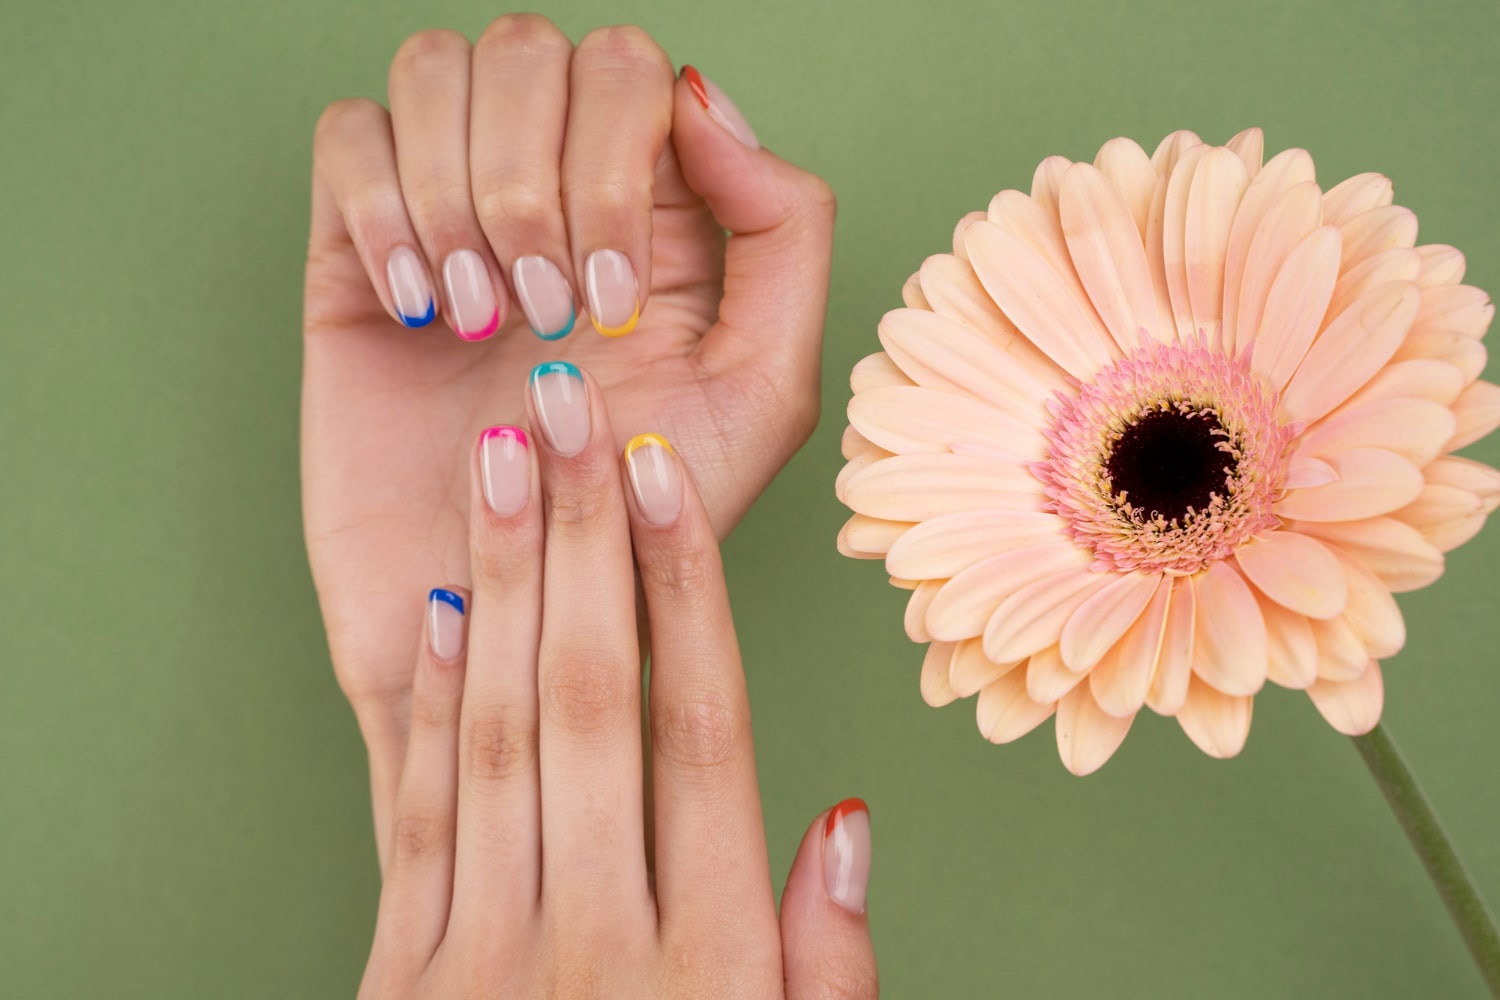
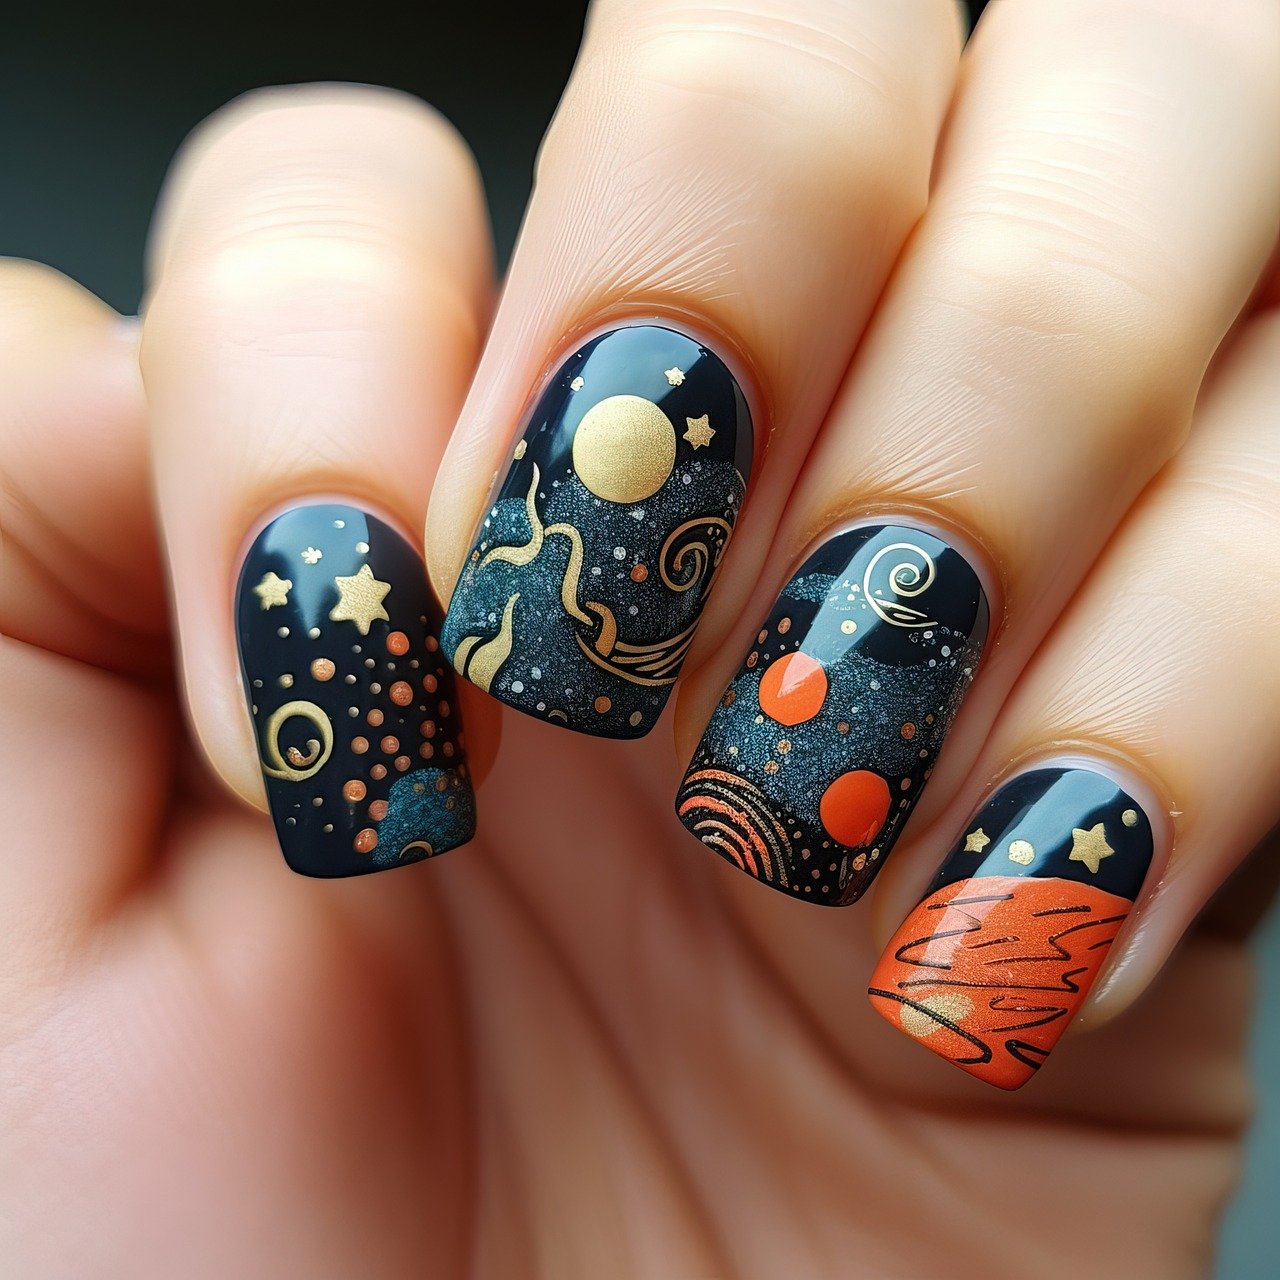
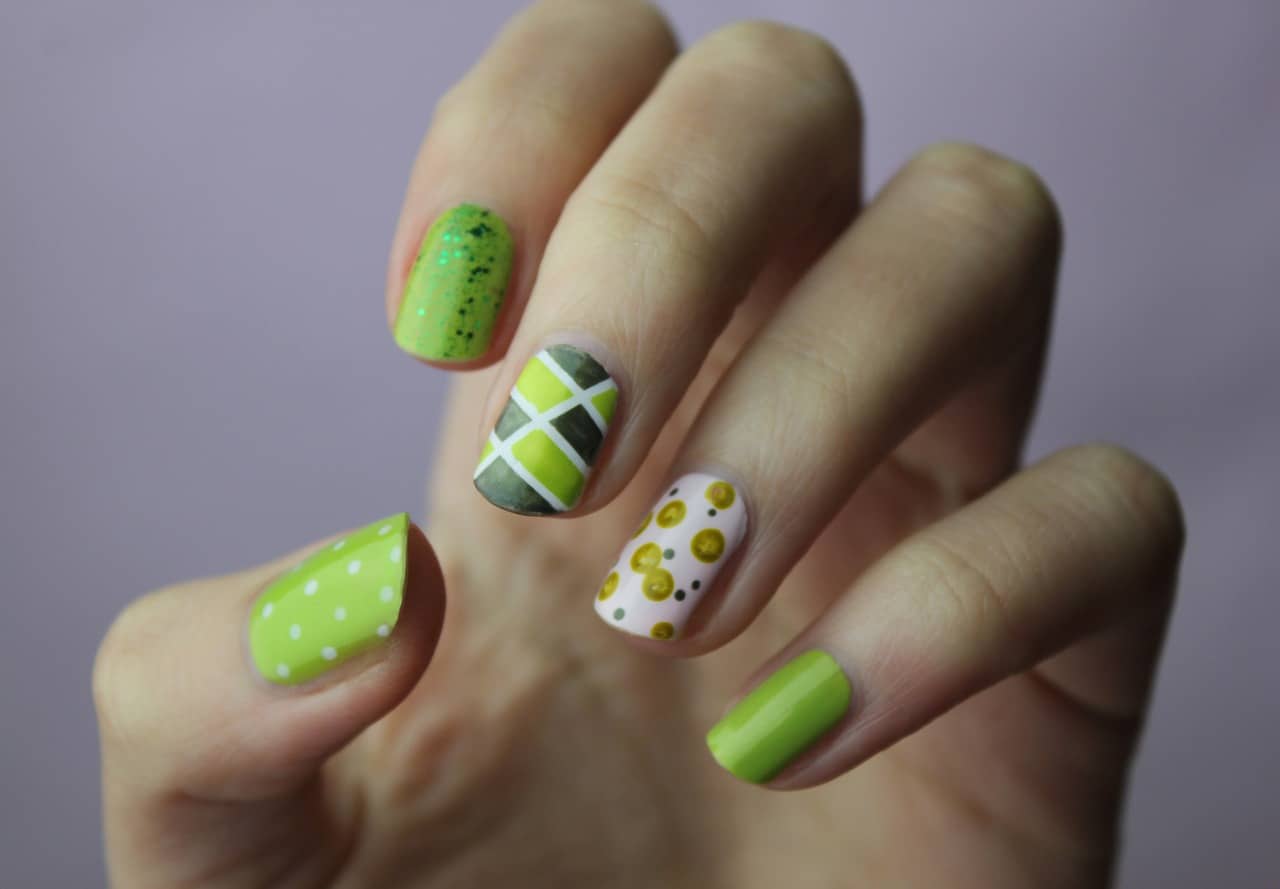
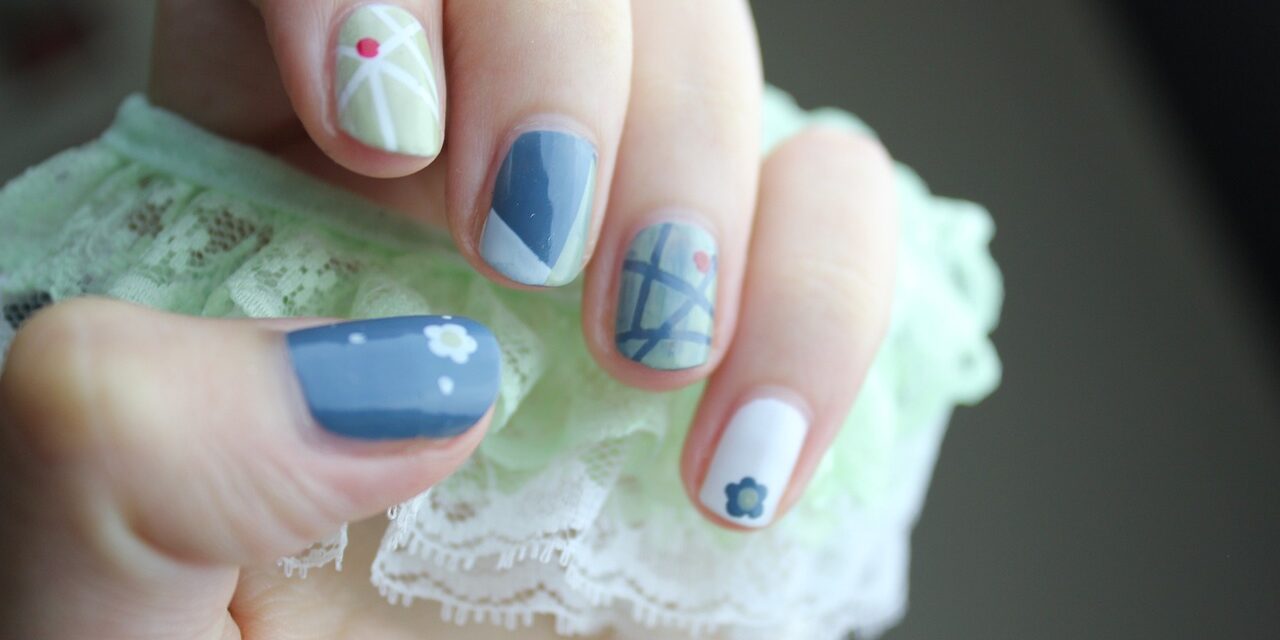
Nail art is a fantastic way to express your style and personality and you don’t need fancy equipment to achieve stunning designs! If you are looking to add a touch of creativity to your nails without the need for specialized tools, here we are! This guide will help you explore how to do nail art at home without tools and using everyday household items.
So, let’s get started to DIY nail art excellence! Adorn your nails with unique and fabulous designs, all from the comfort of your home, without needing specialized tools. Let your creativity shine, and make your nails the canvas for your masterpieces!
How To Do Nail Art At Home Without Tools?
 Preparing your nails is a crucial step in doing nail art at home. It involves preparing your nails for applying nail polish and any creative designs you plan to add.
Here’s an explanation of each sub-point for preparing your nails.
Removing Old Nail Polish With Nail Polish Remover
- Gather a cotton ball or cotton pad and nail polish remover.
- Place a small amount of nail polish remover on the cotton ball or pad.
- Press the soaked cotton gently onto the nail, covering the entire surface.
- Hold the cotton on each nail for a few seconds to allow the polish to dissolve.
- Wipe away the old nail polish, using gentle strokes in one direction to prevent smudging.
Trimming And Shaping Your Nails With A Nail Clipper And Nail File
- Use a nail clipper to trim your nails to your desired length. Be careful not to cut too close to the skin.
- File the edges of your nails with a nail file to shape them. You can choose a square, oval, round, or other shape.
- File the nails in one direction to avoid weakening them and causing splitting.
Applying A Base Coat For Protection And Better Adhesion(Optional)
- If you have a clear base coat nail polish, apply a thin layer to each nail.
- Start from the base of the nail and swipe towards the tip, ensuring even coverage.
- The base coat provides a smooth surface for the colored nail polish to adhere to, extending the life of your nail art.
- Allow the base coat to dry completely before proceeding with your nail art design.
Simple Nail Art Designs You Can Make At Home Without Tools
Polka Dots
- Instead of traditional dotting tools, you can repurpose household items like toothpicks or bobby pins to create perfect polka dots on your nails.
- After dropping the end of the toothpick or bobby pin into a nail polish color of your choice, you can gently press it onto your nails to form the polka dot pattern.
Stripes
- You don’t need extra tools to create stripes. The regular nail polish brush can draw straight lines on your nails.
- Making horizontal, vertical, or diagonal stripes. With the brush, you can create stripes in different directions, providing versatility and various looks.
Color Blocking
- Apply different nail polish colors directly to the nail. This technique now involves using contrasting or complementary nail polish colors to separate pin sections.
- Use the polish brush or toothpick to create clean lines. To ensure clean and defined edges between the colors, you can use the brush or a toothpick to draw the lines where the colors meet.
Sponge Gradient
- Dab a makeup sponge in multiple nail polish colors. Add two or more nail polish colors side by side on a makeup sponge for a gradient effect.
- Press the sponge onto the nail for a gradient effect. The colors blend together by dabbing the sponge gently onto your nail, creating a smooth and seamless gradient.
Marbling Effect
- In this mesmerizing technique, you drop different nail polish colors onto a surface, like water or a piece of plastic.
- Swirl the colors with a toothpick and dipping nails into the design. Gently mix the colors to create a marbled pattern using a toothpick. Then, dip your nails into the marbled design to transfer the stunning effect.
With these five simple nail art designs, you can add charm and uniqueness to your nails without needing specialized tools, creating beautiful and eye-catching manicures at home.
Additional Tips And Techniques To Do Nail Art At Home Without Tools
 Additional Tips and Techniques can elevate your nail art skills. Here’s a brief explanation of what this section entails:
- You may use intricate details, blending, and layering to create more complex and visually appealing nail art.
- Use advanced color blending to create gradient effects, ombre styles, or captivating color combinations. Mastering color blending allows you to add depth and dimension to your nail art.
- Add intricate details and patterns to your nail art, taking your designs to a new level of sophistication.
- Combine various nail art techniques to create unique and personalized designs. Mixing different methods, you can craft fantastic nail art showcasing your creativity.
The above tips and techniques here may emphasize the importance of practice and precision in mastering advanced nail art and, like any craft, honing your skills with exceptional results.
Create Flawless Finish Without Using Tools
 It is a crucial step in the nail art process that ensures your designs look polished and last longer. Let’s elaborate on this step:
Clean Up And Seal The Nail Art
After completing your nail art, it’s common to have some excess nail polish around the edges of your nails or skin. Cleaning up this extra polish creates a neat and more professional appearance. To clean up,
- Dip a small, angled brush or a cotton swab into nail polish remover.
- Carefully and gently trace around the edges of your nails to remove any stray polish.
- You can also use a nail polish remover pen or pre-soaked polish remover pads for precise cleanup.
Sealing your nail art is essential to protect and preserve your designs. It helps prevent chipping and fading, keeping your nail art looking fresh for an extended period. To seal your nail art,
- Apply a clear top coat over your entire nail, completely covering the nail art designs.
- The top coat not only protects your nail art but also adds shine and gloss, enhancing the overall appearance of your nails.
Tips for Clean Up and Sealing
- Be patient
- Use precision tools
- Wait for dryness
- Reapply top coat
In conclusion, nail art at home without specialized tools can be a fun and creative way to express your style and personality. You can achieve stunning nail designs using everyday household items like toothpicks, bobby pins, and sponges by following simple techniques such as polka dots, stripes, color blocking, sponge gradients, and marbling effects.


4 Comments